Compression, expansion, limitation, and gating. All of these are key tools in a music producer’s arsenal, and ones that can prove to be the difference between muddy, amateur sounding recordings, and top-tier bangers.
Despite this, it isn’t always necessarily obvious what these terms mean, and how they relate to each other. If you’ve ever found yourself confused, then don’t worry—you’re not alone. Below is a quick guide to help acquaint yourself with these critical concepts, and how they might be used in your own music production practice.
What is Compression?
At its most basic, a compressor’s job is to reduce the louder portions of a signal, and increase the quieter portions—effectively lowering the difference between the peaks and troughs, along with the dynamic range. That's why it's called "compression": it involves compressing the total dynamic range.
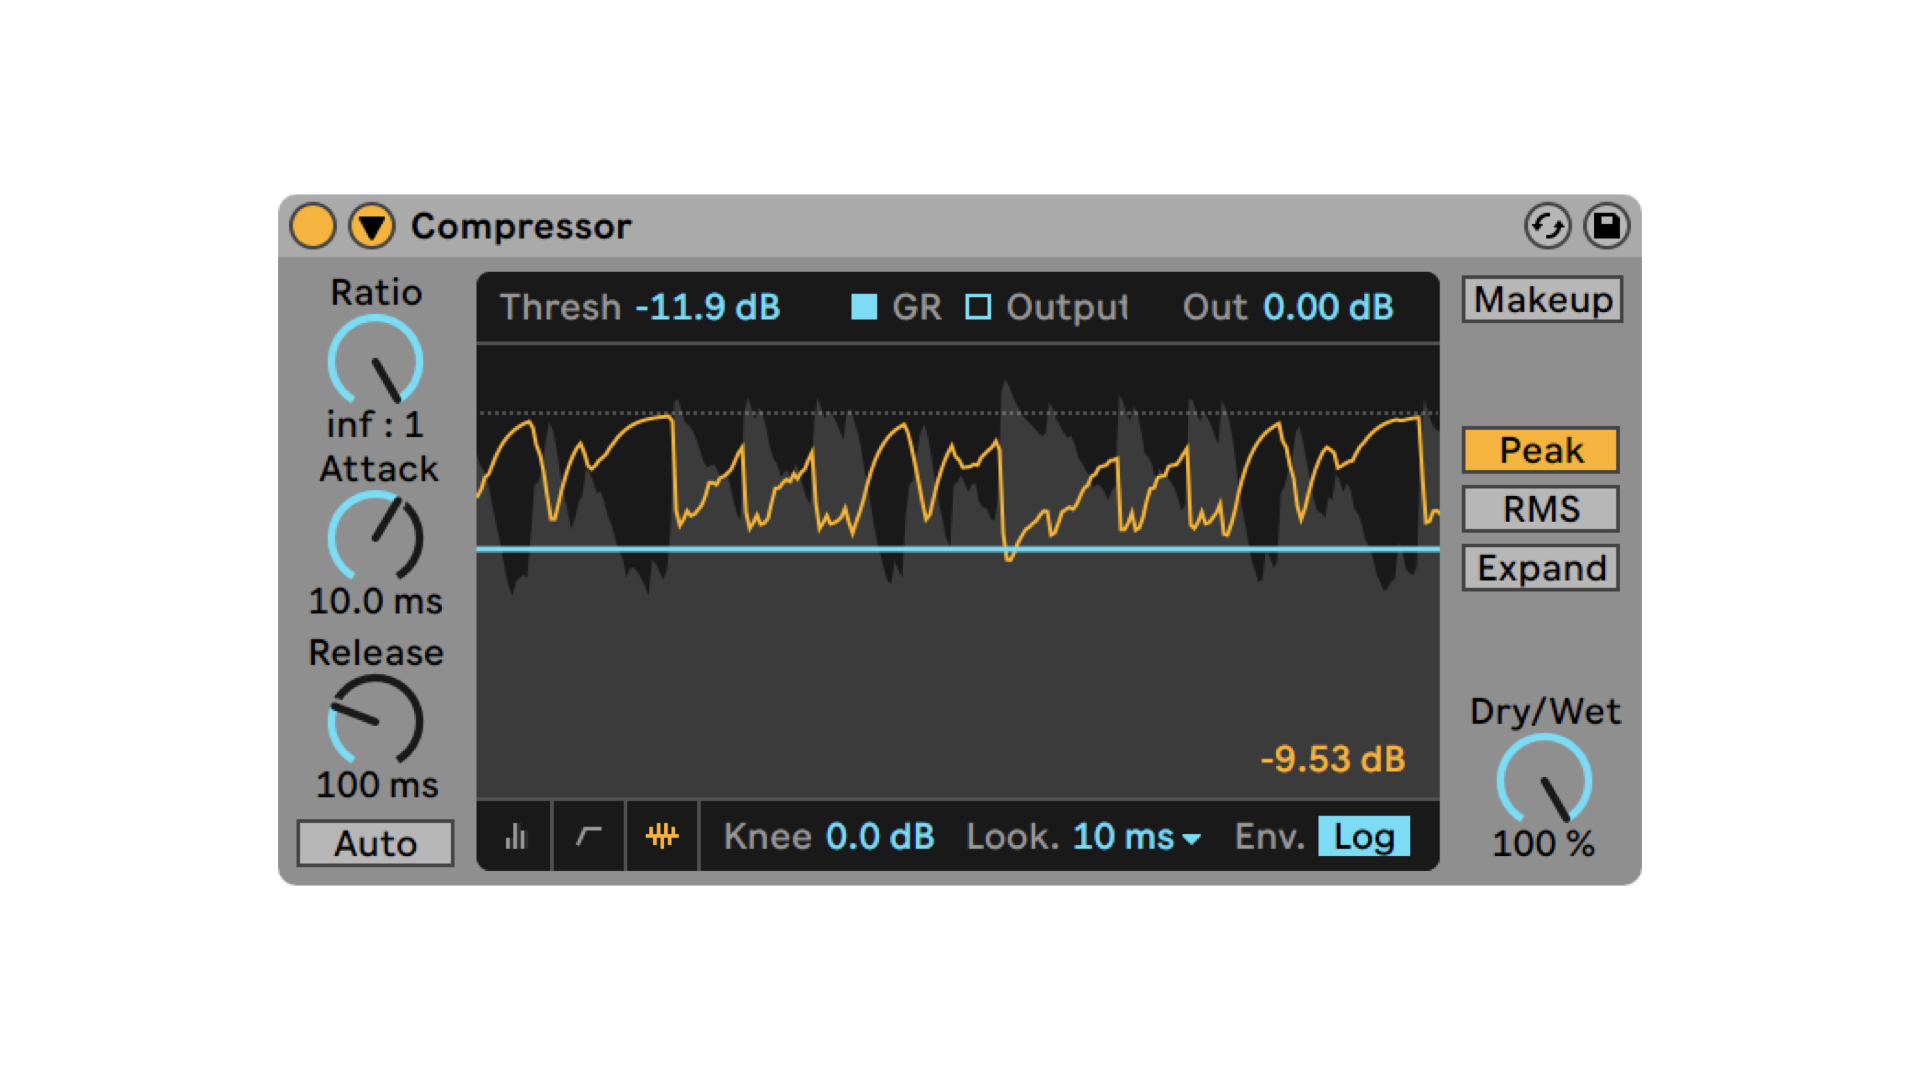
[Above: the Compressor device from Ableton Live—a solid example of the typical controls/setting you'll find in most compressors out there.]
There are many reasons why you might want to do this. For example, to pleasantly smooth out the recording of a voice-over or podcast, and ensure that the volume remains at a consistent level. Similarly, you may want to bring out certain elements of acoustic instruments that would otherwise be buried within a mix due to the natural fluctuations in volume inherent in the way somebody plays. When done well, compression helps thicken out and add punch to recordings, glueing your productions together.
Compressors have numerous controls to shape the effect and duration of the effect, such as when a signal should be reduced, and to what extent. As a result, there are many creative ways to use compression, including what’s known as sidechaining. This is the process by which you tie the reduction of one signal to the peaks of another. For example: "ducking" the synthesizer track whenever a particular drum hit is detected. Used conservatively, this can help bring greater clarity to your final mixes, as the shared frequencies of different instruments don’t clash. However, aggressive settings can also be used to create a clear pulsing sound—a distinctive effect that is closely associated with electronic dance music.
Compression works especially well with drums, providing a punch that you simply can’t get otherwise. Here, you can really ramp up the compression to completely squash the signal for gloriously trashy, characterful results, something that I do regularly with OTO’s BOUM—a standalone stereo warming unit with an idiosyncratic UI.
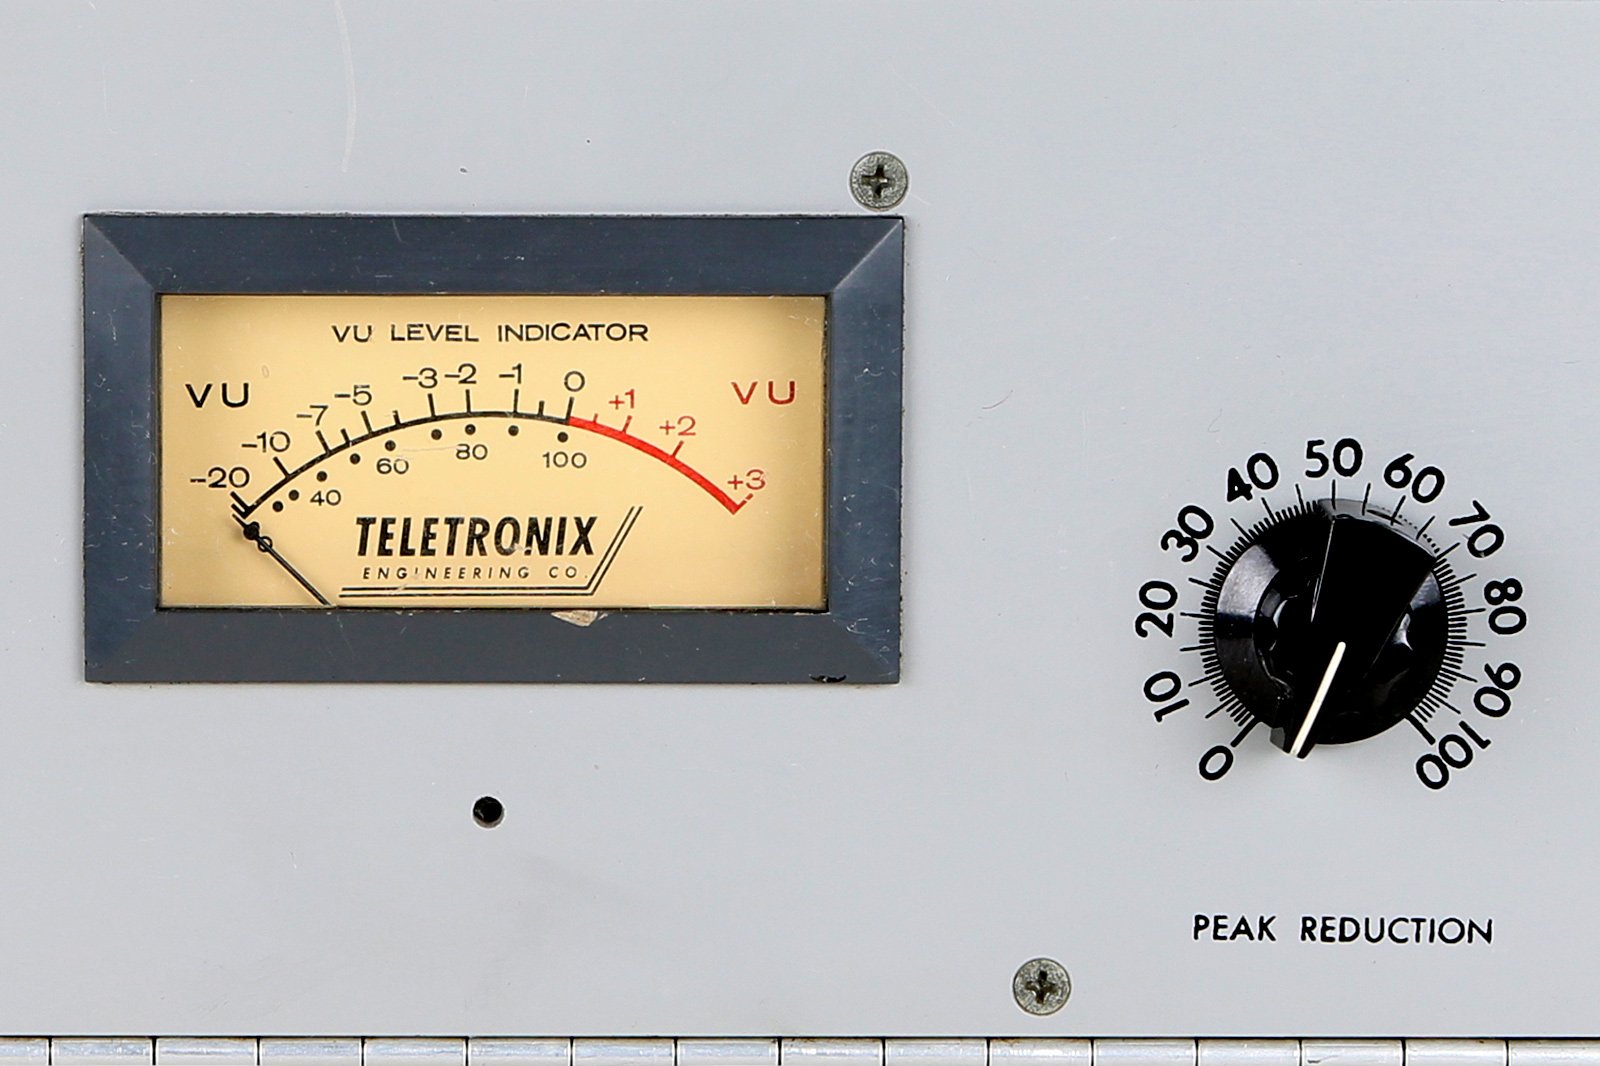
Every modern DAW will include some kind of compressor—and for lots of us these will do the job just fine. However, there is a wonderful world of hardware out there, just waiting to be discovered. There are many folks that swear by particular devices for the specific coloration they give to a signal—particularly when it comes to tube compressors. If I had the cash, I would run literally everything I record through something like Warm Audio’s gorgeous WA-2A. Of course, despite my fantasies, this won’t necessarily be an ideal solution for every situation, and there are also plenty of options out there that provide transparent compression, without adding anything discernible to the original signal.
For those of us who play live with computer-free setups, and still want to achieve the effects of compression, neither plugins or premium rack mount gear will necessarily be of much use. Luckily, there are a bunch of affordable, dedicated compressor pedals available that suit the bill, including Fairfield Circuitry’s incredibly compact The Accountant, and the Compressor MkII from Empress Effects (which even has a sidechain input!). For years, I have personally used the Platform pedal from Electro Harmonix, which has a built in drive overdrive, lots of physical controls, and supports stereo in and output.
[Editor's note: it's worth stating here that most compressors will offer similar parameterization—that is to say, they'll feature a similar set of controls. Usually, a compressor will have a control labeled threshold: this is the volume above which you want the compressor to take effects. Another critical parameter is the compression ratio: this describes the intensity which which the volume of sounds above the threshold will be reduced…usually expressed as a ratio. For example. a 4:1 ratio means that, for every four decibels the incoming sound exceeds the threshold, the outgoing sound will only be allowed to increase a single decibel. The makeup gain control can then be used to amplify the resulting compressed output, compensating for the volume loss from the compression process itself. Beyond these basic settings, it is also common for compressors to offer controls for attack and release time—which basically determine how quickly the compression process engages and disengages when incoming sound goes above or below your selected threshold, respectively. Not ever compressor will have all of these controls—and some compressors will have even more controls—but these are the most common and critical concepts to understand.]
Some of Our Favorite Compressor Pedals
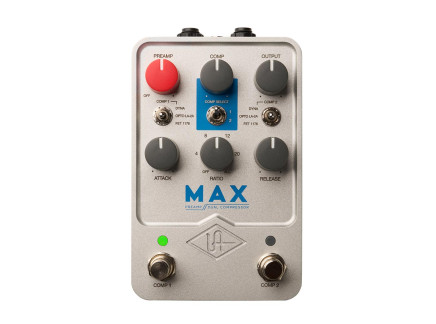 Universal Audio Max Preamp + Dual Compressor Pedal$349.00In Stock Available immediately!
 Empress Effects Compressor MKII PedalAs low as $274.00Multiple Options Make a selection for stock info
 Fairfield Circuitry The Accountant Compressor Pedal$199.00Preorder Reserve your order today!
Out of Stock
We're awaiting our next batch of this item. Pre-order to reserve your place in line and we'll fulfill your order as soon as we receive our shipment
What is Expansion?
If compression is about making loud bits quieter and quiet bits louder, expansion does the exact opposite. Expansion involves amplifying the loudest portions of a signal, and attenuating the quietest. At first, it might be difficult to understand why you would want to do this, but there are plenty of practical situations in which expansion can prove to be invaluable.
One especially useful implementation of expansion is to help reduce the volume of unwanted elements that are already quieter than the important parts of a signal. This works especially well in situations where you have multiple microphones close together with significant bleed between them, and you want to isolate just the most relevant portion. For example: individual mics on different parts of a drum kit. Similarly, you can deploy an expander to minimise background noise for vocal recordings. I can’t tell you the number of times that these have saved my bacon when I’ve gotten crappy audio for my YouTube videos by overlooking the fact that the washing machine or kitchen extractor fan was running in the background…
Expanders can also help liven up instruments which have a naturally limited dynamic range. Electronic instruments in particular can often benefit from a greater difference between their loudest and quietest moments being highlighted, something that can bring out the character provided by any modulation (think LFOs, envelopes, etc). This is especially true for instruments that lack velocity sensitivity.
What is Limiting?
Limiters do what they say on the tin. Err, so to speak. Essentially, they prevent a signal’s peaks from passing a particular, predetermined point. They are commonly used during the mastering process, to increase the perceived volume of a production without any of the individual elements clipping.
Ozone from iZotope is a great bit of software that can be used for this kind of end-of-chain mastering. As with all of the tools mentioned here, limiters need to be used judiciously, as aggressive limiting will drastically impact the dynamic range. For more on this, have a Google of the "loudness wars."
Mastering aside, another incredibly useful function of limiters is to prevent unexpected spikes in volume. This is obviously handy in production when applied to tracks like vocals—but it becomes invaluable during recording, as sudden jumps in levels run the risk of damaging equipment. For a concrete example of this: I often make music with weird and wonderful circuit bent devices, and the flick of a switch can take things from beautifully harmonious to violently harsh sonic destruction. As a result, both my speakers and my neighbors thank the Lord for the hardware limiter I have placed in the chain. Similarly, over-enthusiastic DJs are often kept under control by venue-controlled limiters to avoid blowing up expensive amplifiers.
In actuality, limiters are exactly the same in concept as compressors—but they use a more aggressive ratio setting (10:1 or higher). This allows them to dramatically attenuate signals whose loudness exceeds your desired threshold.
What is Gating?
In music production, gating is a technique where signals are only allowed to "pass" only if they reach a certain threshold. The most common implementation of this is known as a "noise gate," which helps to remove low-level unwanted background sounds from recordings, such as persistent hissing or buzzes.
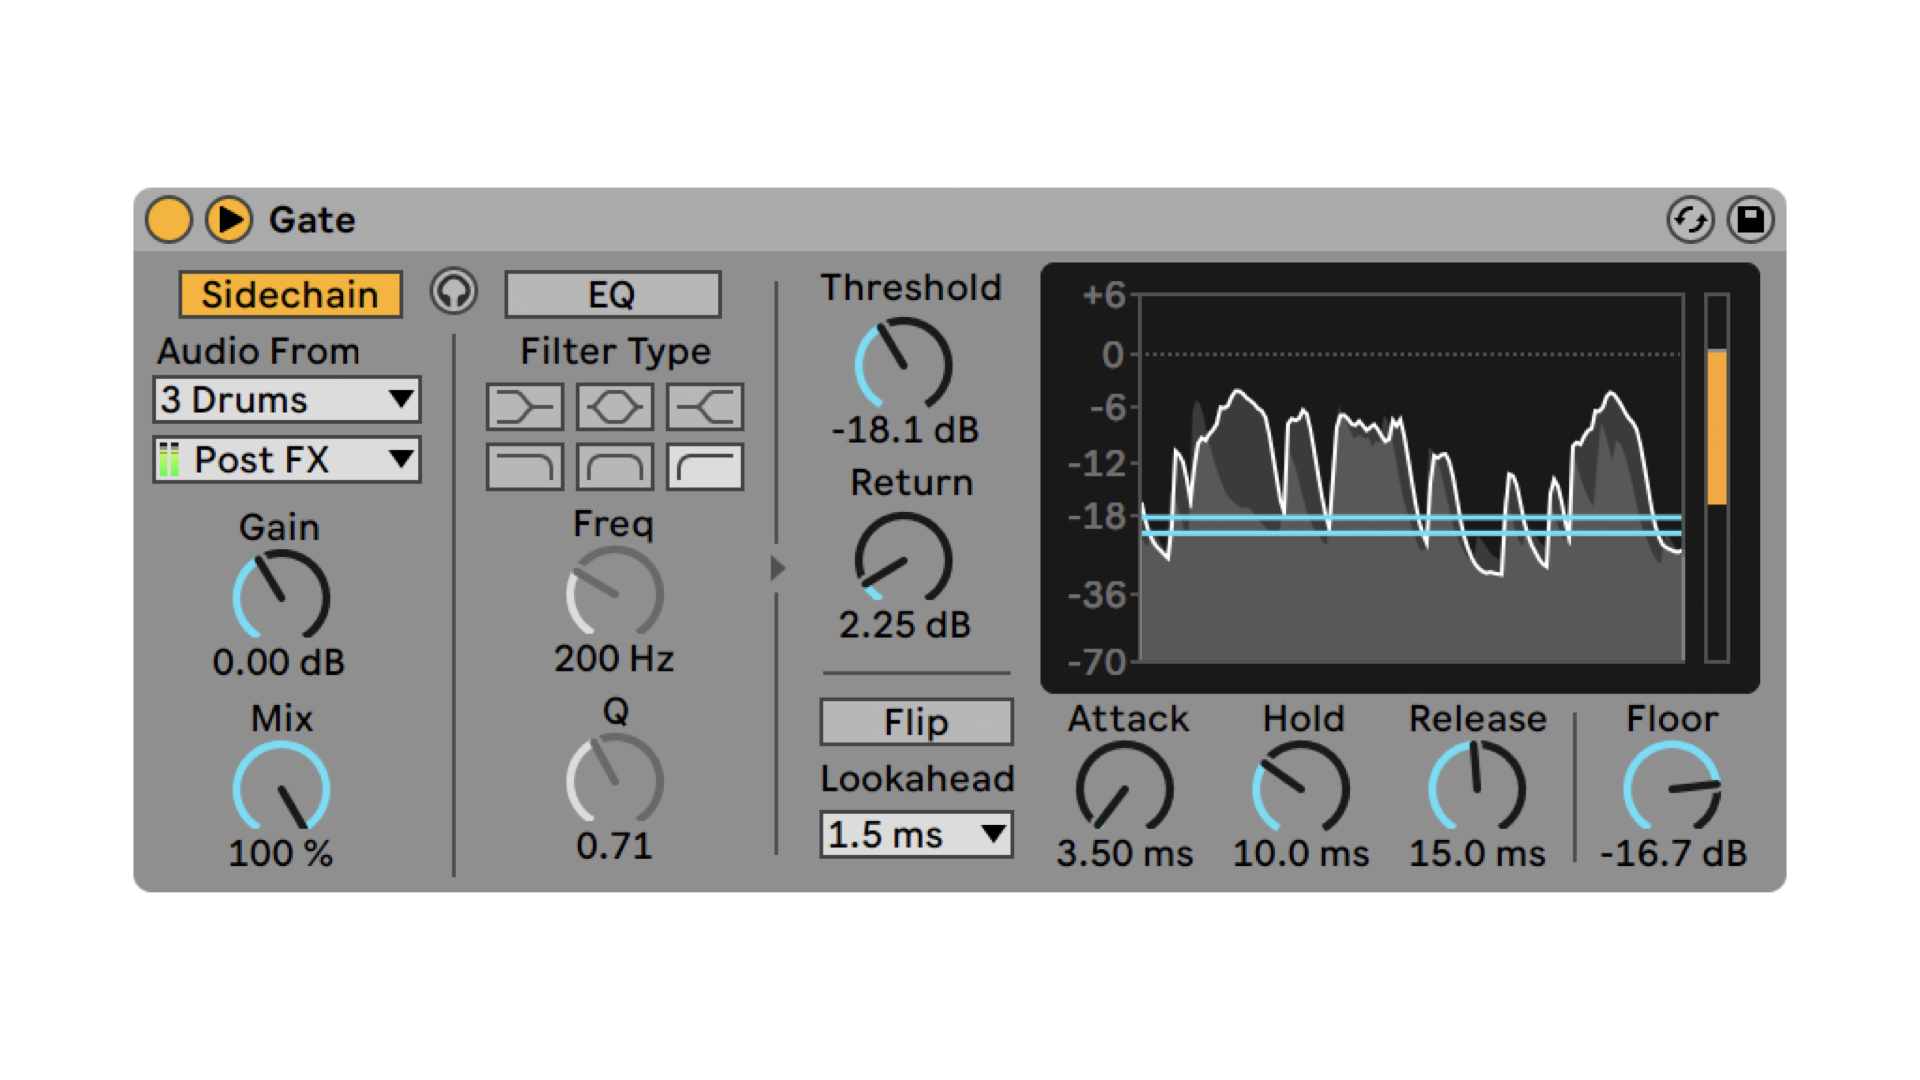
[Above: the Gate device from Ableton Live—again, a great example of the types of controls you can expect to see on most noise gates.]
As with compressors, gates will commonly have different parameters to shape how and when the gate opens and then closes. For example:
- Threshold: the decibel level beneath which audio will be muted, or reduced in volume.
- Reduction: the amount that any signal under the threshold will be attenuated.
- Attack, Hold, Release: the shape of the envelope applied to the gated signal. In other words—how quickly and how long the gate remains open.
As somebody that likes to make music with old games consoles such as the Game Boy and Commodore 64, I have often made liberal use of noise gates, to strip out the very particular hiss that is inherent in their output.
It is important to note that gating works best when there is a marked difference in level between the noise that is to be eliminated, and the desired portion of the recording. If they are close in volume, then you run the risk of clipping off the lower edges of the desired signal—especially with particularly dynamic sound sources such as vocals.
Popular Noise Gate Effect Pedals
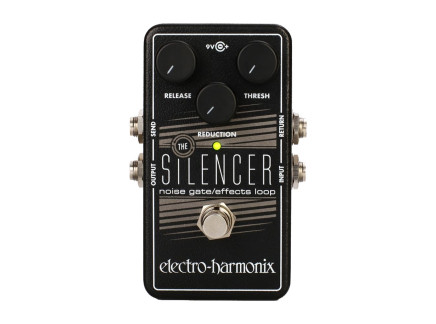 Electro-Harmonix Silencer Noise Gate Pedal$80.70Preorder Reserve your order today!
Out of Stock
We're awaiting our next batch of this item. Pre-order to reserve your place in line and we'll fulfill your order as soon as we receive our shipment Boss NS-2 Noise Suppressor Pedal$109.99Preorder Reserve your order today!
Out of Stock
We're awaiting our next batch of this item. Pre-order to reserve your place in line and we'll fulfill your order as soon as we receive our shipment ISP Technologies Decimator II Noise Gate Pedal$143.36Preorder Reserve your order today!
Out of Stock
We're awaiting our next batch of this item. Pre-order to reserve your place in line and we'll fulfill your order as soon as we receive our shipment
Summary
Now that you’ve got a basic understanding of what each of these tools does, it’s time to experiment. As useful as they all are on their own, they can be much more powerful when combined together. For example, by placing a limiter before the compressor in a signal chain, or using an expander before a noise gate to exaggerate the difference between the extremes of the recorded signal and produce a better result.
While the functioning of these tools is clearly defined, there is a significant difference in the results you can achieve as a result of the various designs available. From experience, there are certain compressors that I am able to get much better sounds from far more easily, partly because of the way that the various elements interact together.
Software production tools are incredibly useful and cover a wide variety of scenarios, but I have found that I’ve learned about how things work much quicker by getting hands on with hardware. If you want to dip your toes in that particular pool, then devices such as Elektron’s Analog Heat provides a bunch of different stereo effects in a convenient box, including various overdrive circuits, a noise gate, digital compression, and more.
Desktop Compressors to Check Out
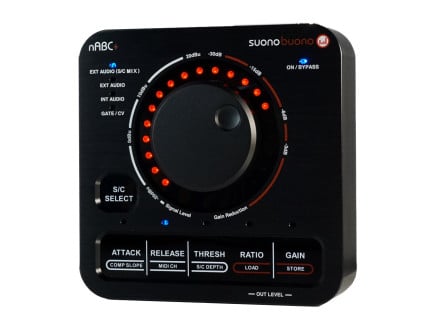 Suonobuono nABC+ Stereo Desktop Compressor$379.00Out of Stock Sign up for stock updates!
Out of Stock
We aren't currently accepting pre-orders for this item. Sign up for stock notifications and we'll email you as soon as we receive our next shipmentOut of stock FMR Audio RNLA Really Nice Leveling Amp$219.00Out of Stock Sign up for stock updates!
Out of Stock
We aren't currently accepting pre-orders for this item. Sign up for stock notifications and we'll email you as soon as we receive our next shipmentOut of stock FMR Audio RNC Really Nice Compressor
- STAFF PICK
$205.00In Stock Available immediately!