There’s nothing quite like the thrill of getting a hold of a new synthesizer or drum machine. You know what I’m talking about—that dizzying feeling where a vast landscape of sonic possibility stretches out before you, begging to be explored. However, sometimes it’s the purchases which seem relatively dull in theory that prove to have the biggest impact on our creative process in practice.
One bit of gear that falls squarely into this category is the humble patchbay. These unsung heroes are the connective tissue of studios across the globe, bringing order to what would otherwise be an unruly logistical nightmare. Similar to an old-school telephone switchboard, they act as a central place through which the signal flow of your various devices can be quickly and efficiently routed.
Patchbays: Why Would You Use One?
The idea is fairly simple. On the rear of a patchbay you connect the inputs and outputs of your various noise-making devices, effects processors, mixers, etc. You then patch these together via the front panel, depending on the particular configuration that your project requires.


For example: switching between a variety of different synthesizers, and a single (excellent) hardware reverb, such as the OTO BAM. Similarly, you can more easily experiment with the order of different effects, in a way that would otherwise be too cumbersome if you needed to rearrange the cabling each time. Reverb into delay into overdrive? Delay into overdrive into flanger? Overdrive into reverb into chorus? No problem.
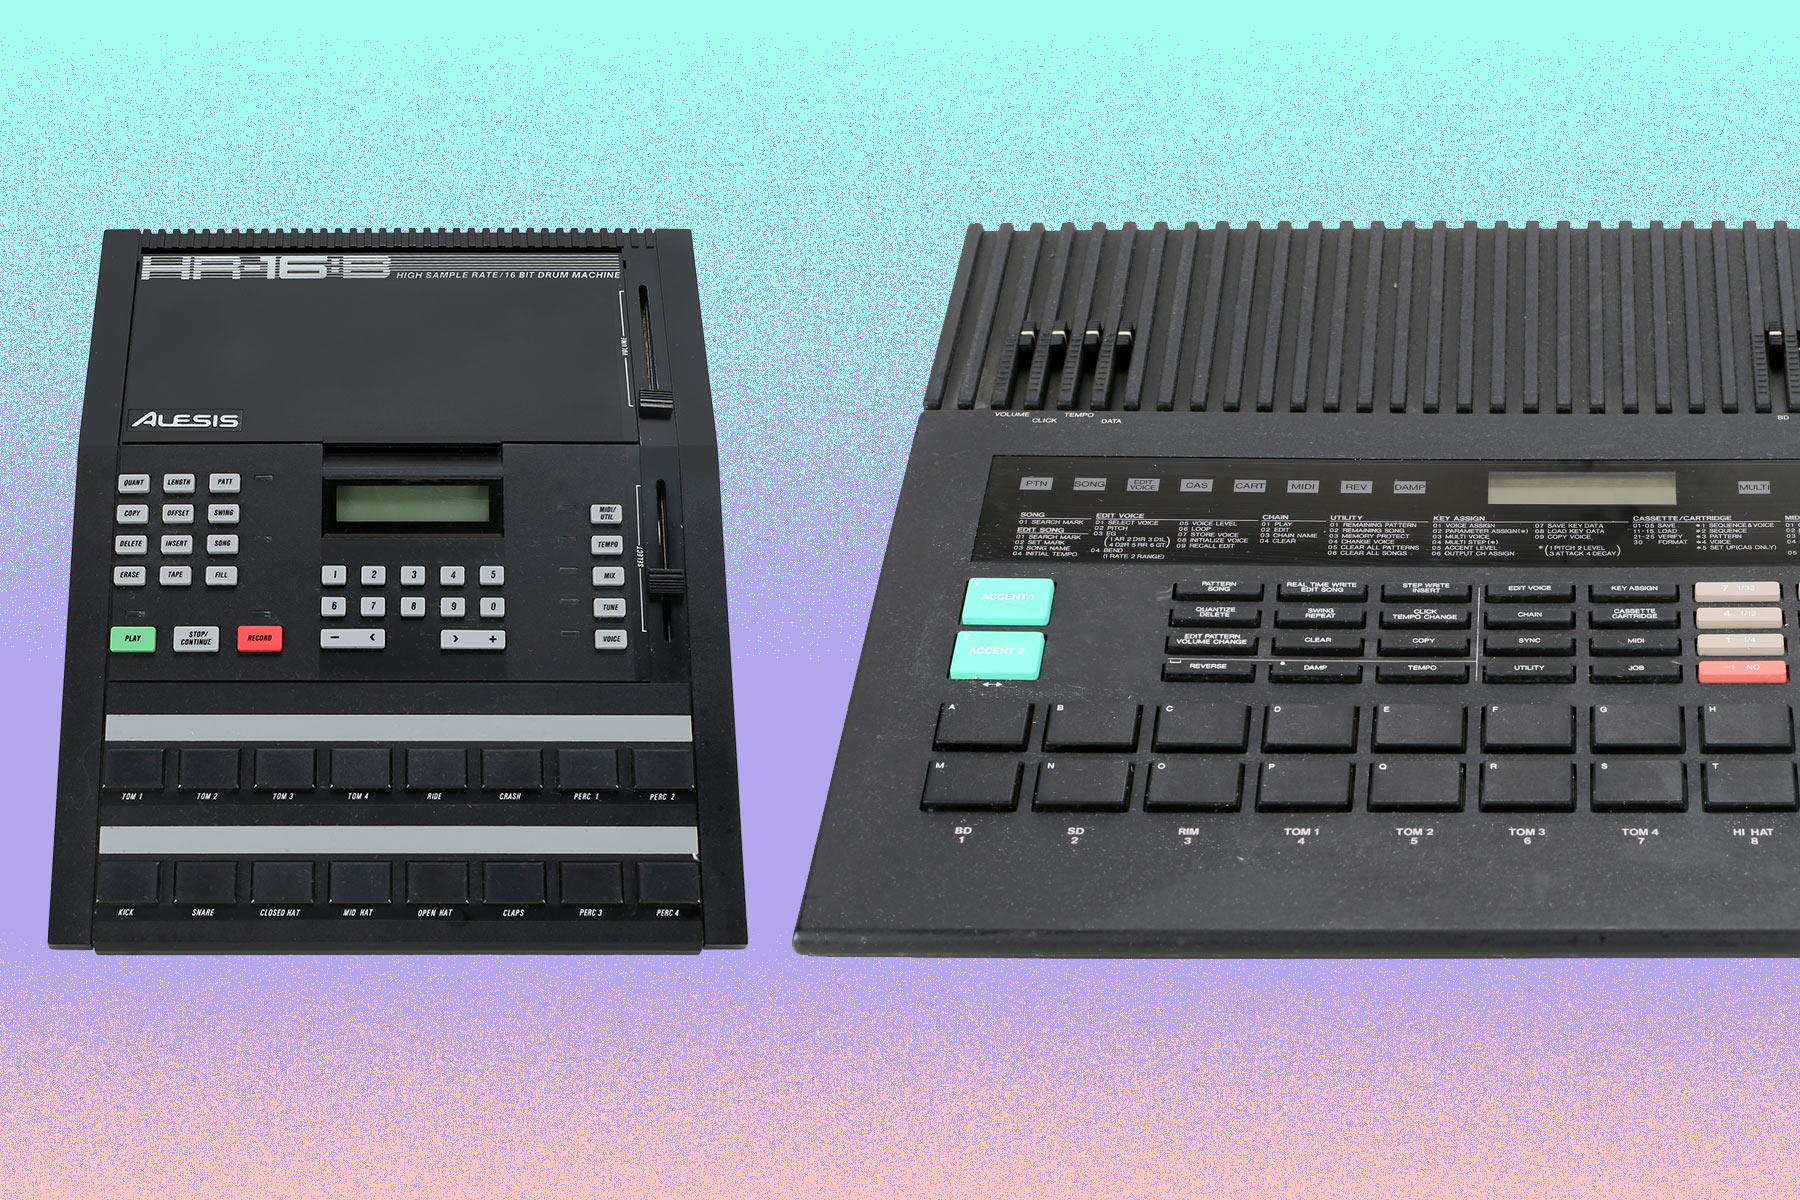
Another major benefit of using patchbays is that you can give yourself much easier access to connections that would otherwise be hidden away on the rear of rack mount gear, such as the trigger inputs of the Vermona DRM1 drum synthesizer, or the outputs of the Focusrite Scarlett 18i20 audio interface. No more groping around the back of your desk with a phone flashlight to try and identify what output number 3 should be plugged into.
Patchbay Concepts: Normalling + Half-Normalling
There are a number of configuration options for patchbays, which can be intimidating if you aren’t familiar with the terminology. Once you wrap your head around it though, it’s fairly straightforward.
Pairs of corresponding connections on the rear panel that are normalled (short for "normally connected") will have the signal flow from the top to the bottom without requiring the use of a patch cable on the front. If you do connect a patch cable, then the normalled connection will be broken, and the signal re-routed accordingly. This might seem confusing, but it is similar to the way that certain connections are internally pre-patched on a semi-modular synthesizer like the Dreadbox Erebus.
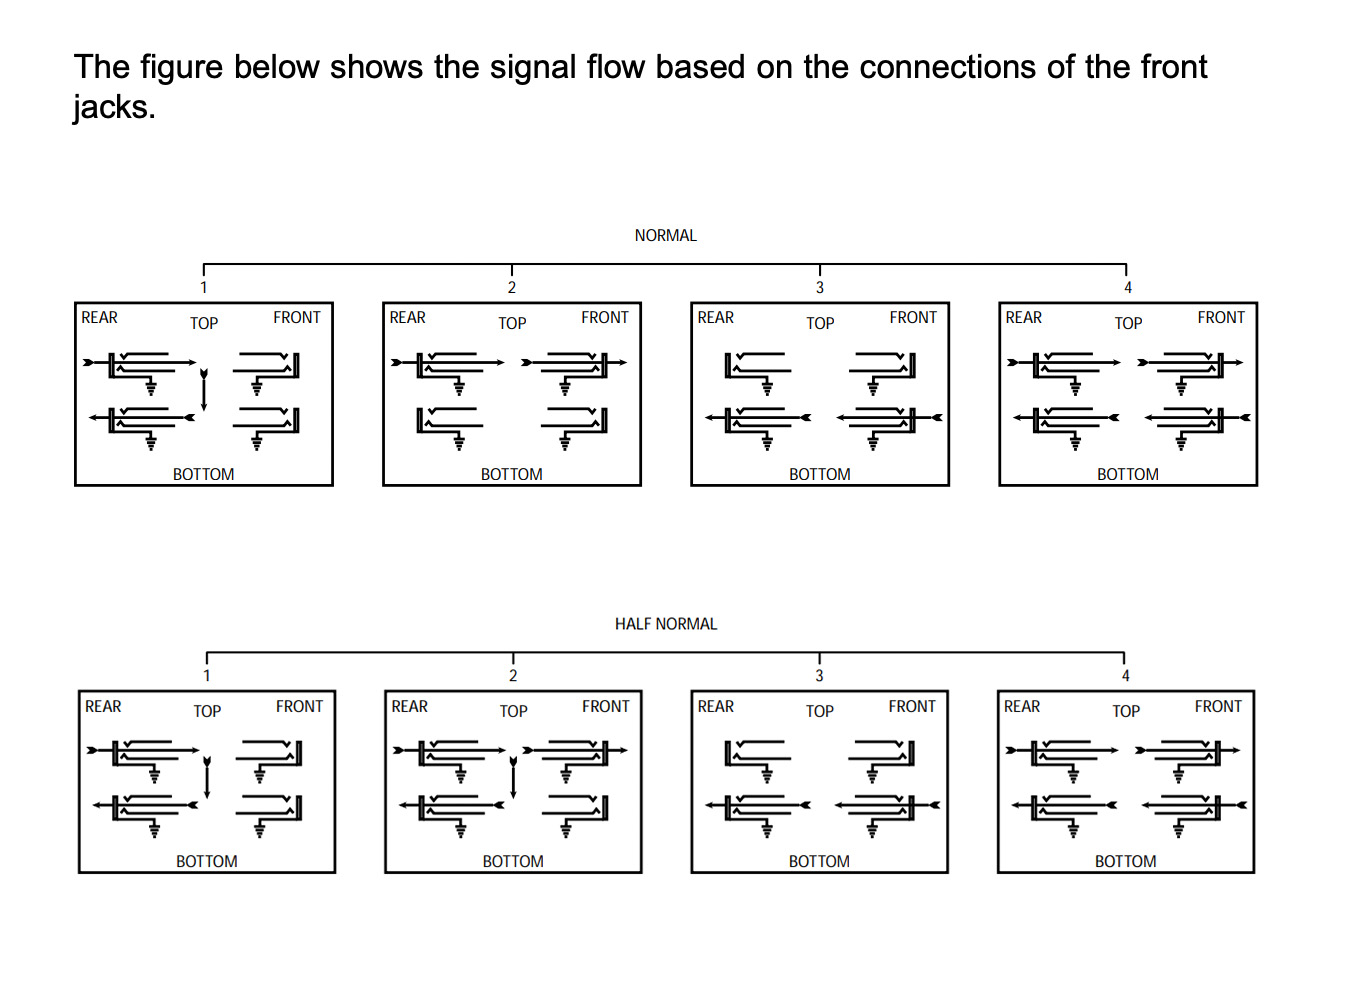
Half normalling is similar to the above, with one important distinction: a half normalled connection will not be broken when you connect a patch cable to the front of the panel. This allows you to effectively "tap in" and split signals for separate processing, such as to record a dry and wet path independently.
These normalling options can be used to ensure that the devices which you most commonly use together are connected by default, with the ability to quickly switch things up as needed. Alternatively, you can also choose to have connections non-normalled, where the rear pairs are not connected at all without the use of a patch cable.
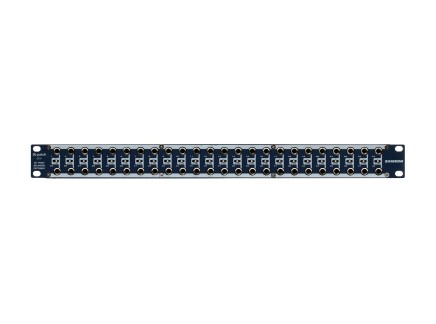
Most patch bays allow you to configure the normalling on a per-channel basis—usually through the use of switches on the top of the unit. However, certain models such as the Samson S-Patch Plus have toggles on the front, which means you don’t need to remove it from your rack every time you want to change things up. This seemingly minor detail increases its usefulness exponentially—as anybody who has had to repeatedly unscrew a rack unit to change the configuration will tell you!
Different Patchbay Formats: Rackmount or Desktop?
Most patchbays come in a 1U, 19" rack format. This is a sturdy and reliable option for studios of all sizes, or anywhere that you have a number of different devices that you want to have talk to each other. Similarly, they can also be used within a rack which includes just a few specific modules. For years, my band swore by the use of a 4U case filled with an interface, ADAT expansion, headphone amplifier, and patch bay for recording purposes.
 DF Audio Minibay v2 40-Point Desktop Patchbay$209.99Backorder Reserve your order today!
Out of Stock
We're awaiting our next batch of this item. Pre-order to reserve your place in line and we'll fulfill your order as soon as we receive our shipment
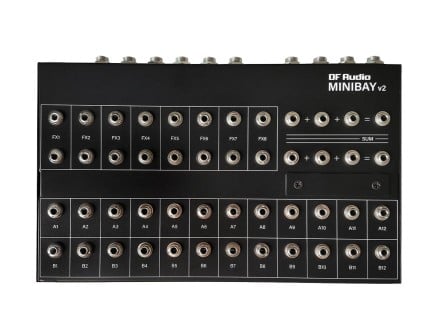
The usefulness of patchbays isn’t confined to those lucky enough to have more permanent music making setups comprising of large synths however. Increasingly, folks with mini DAWless setups are seeing the benefits, particularly through the use of dedicated desktop units such as the Minibay from DF Audio. Coming in the form of a sturdy metal box not much bigger than a couple of Volcas, this inventive creature allows you to connect your gear up via 1/4" jacks on the rear (utilizing TRS to save space), with the patch points themselves coming in the form of 3.5mm minijack connections on the top. In addition to the regular patching possibilities, it also has dedicated FX loops.
The compact nature of the Minibay means that it can bring the wonders of the patchbay to scenarios where a rack unit may be impractical. That includes cramped desktops, and also portable live rigs. While not on the list of officially supported uses, I even managed to get the Minibay working as a quick and dirty switcher for my analog video devices, using a series of 1/4" TRS to stereo RCA adapters. Very nice indeed.
Bringing It All Together
When inspiration strikes, the last thing you want to have to do is fumble around with tangled wires to make sure that your equipment is connected up in the right way. I’ve lost track of the number of times that I’ve sat down to make music and given up in frustration because I couldn’t figure out why a particular synth wasn’t producing sound in the way I expected it to. While a patchbay is never the first thing on anybody’s list to purchase, they can help by streamlining your setup process to allow you to focus on the more important parts of production. Plus, they help to hide the vast majority of ugly cable spaghetti.
If you have a growing collection of equipment and find it tedious or difficult to set up or keep track of what is connected to what, want to experiment with signal flow, or just can’t be bothered having to stretch behind your rack case each time you want to plug in a cable, then you should consider a patch bay. Hell, you’ll probably save thousands in chiropractor bills alone.
Patch Bays That We Love
- Samson S-Patch Plus Balanced Patchbay$139.99In Stock Available immediately!
- Boredbrain Music Patchulator V2 Pedal Patch Bay$149.00In Stock Available immediately!