No longer exclusively used by guitarists and bassists, more people than ever are assembling pedalboards to accomplish their musical goals with effects pedals, including keyboard players, producers, and even drummers. Pedals are incredibly useful for performing live, but can also serve as great tools for composition or studio work, whether they inspire you to play a certain way or offer a unique sonic spice that's unlike any of your other tools. Best of all, there's so many options out there that it's possible to get a collection of pedals going at a fairly modest price.
But the nearly endless possibilities might lead you to feeling some amount of option paralysis—where do you start in building your first pedalboard? In this article, our goal is to share some advice on picking and arranging pedals for your board. For the purposes of demonstration, we'll be using some specific products, but the overarching concepts should be applicable to nearly any scenario, from establishing goals to considerations for future expansion.
Defining Goals for Your Pedalboard
Whether you're planning out a pedalboard, modular synthesizer, or any other highly configurable and personalized collection of tools for making music, defining goals is the key to success. It's easy to throw a bunch of different pedals together and call it a finished board, but it's another thing entirely if they all work together and complement each other. Some goals may be practical in nature, such as remaining under a certain budget or working within airline carry-on size constraints, while others might be more creative in nature or influenced by your personal taste. It's also fairly common to lay out a pedalboard for making specific kinds of music—while anything is possible, it's unlikely that someone would use the exact same collection of pedals to craft ambient soundscapes with a synthesizer, and then pack up the same board with your seven-string guitar to shred it out with a metal band.
For this article, let's keep things simple and plan out a budget-friendly, all-rounder sort of pedalboard. We'll aim to keep the initial total cost of the pedals themselves around $500, and make choices that could work in a number of different musical scenarios. With all of the options that are available these days, it should be possible to achieve nearly any sound at this price point, with enough room to account for personal preferences. Of course, these choices are often highly subjective and dependent upon your own personal needs, but in sharing my thought process for choosing pedals, it should hopefully serve as a role model for your own pedal board planning adventures. Once we have everything laid out and have elaborated upon a few ideas, we'll then talk about ways to think about expanding the board in the future.
Before we get into the actual pedals themselves, I want to note that for the purposes of this article, we're not going to be worrying about the power supplies, cabling, or the actual board itself. There's quite a lot of variance in how these elements can affect a budget, and truthfully you can get pretty far by grabbing a plank of plywood from a craft store and daisy-chaining power from something like a One-Spot. Down the road, it could be worth looking into some more professional and robust options, but if money is a big concern it's easy to get something affordable to hold everything together.
Pedal Rundown
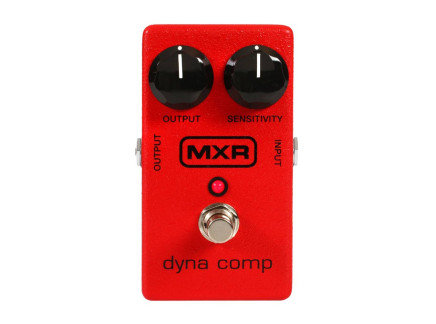 MXR M102 Dyna Comp Compressor Pedal$99.99Preorder Reserve your order today!
Out of Stock
We're awaiting our next batch of this item. Pre-order to reserve your place in line and we'll fulfill your order as soon as we receive our shipment
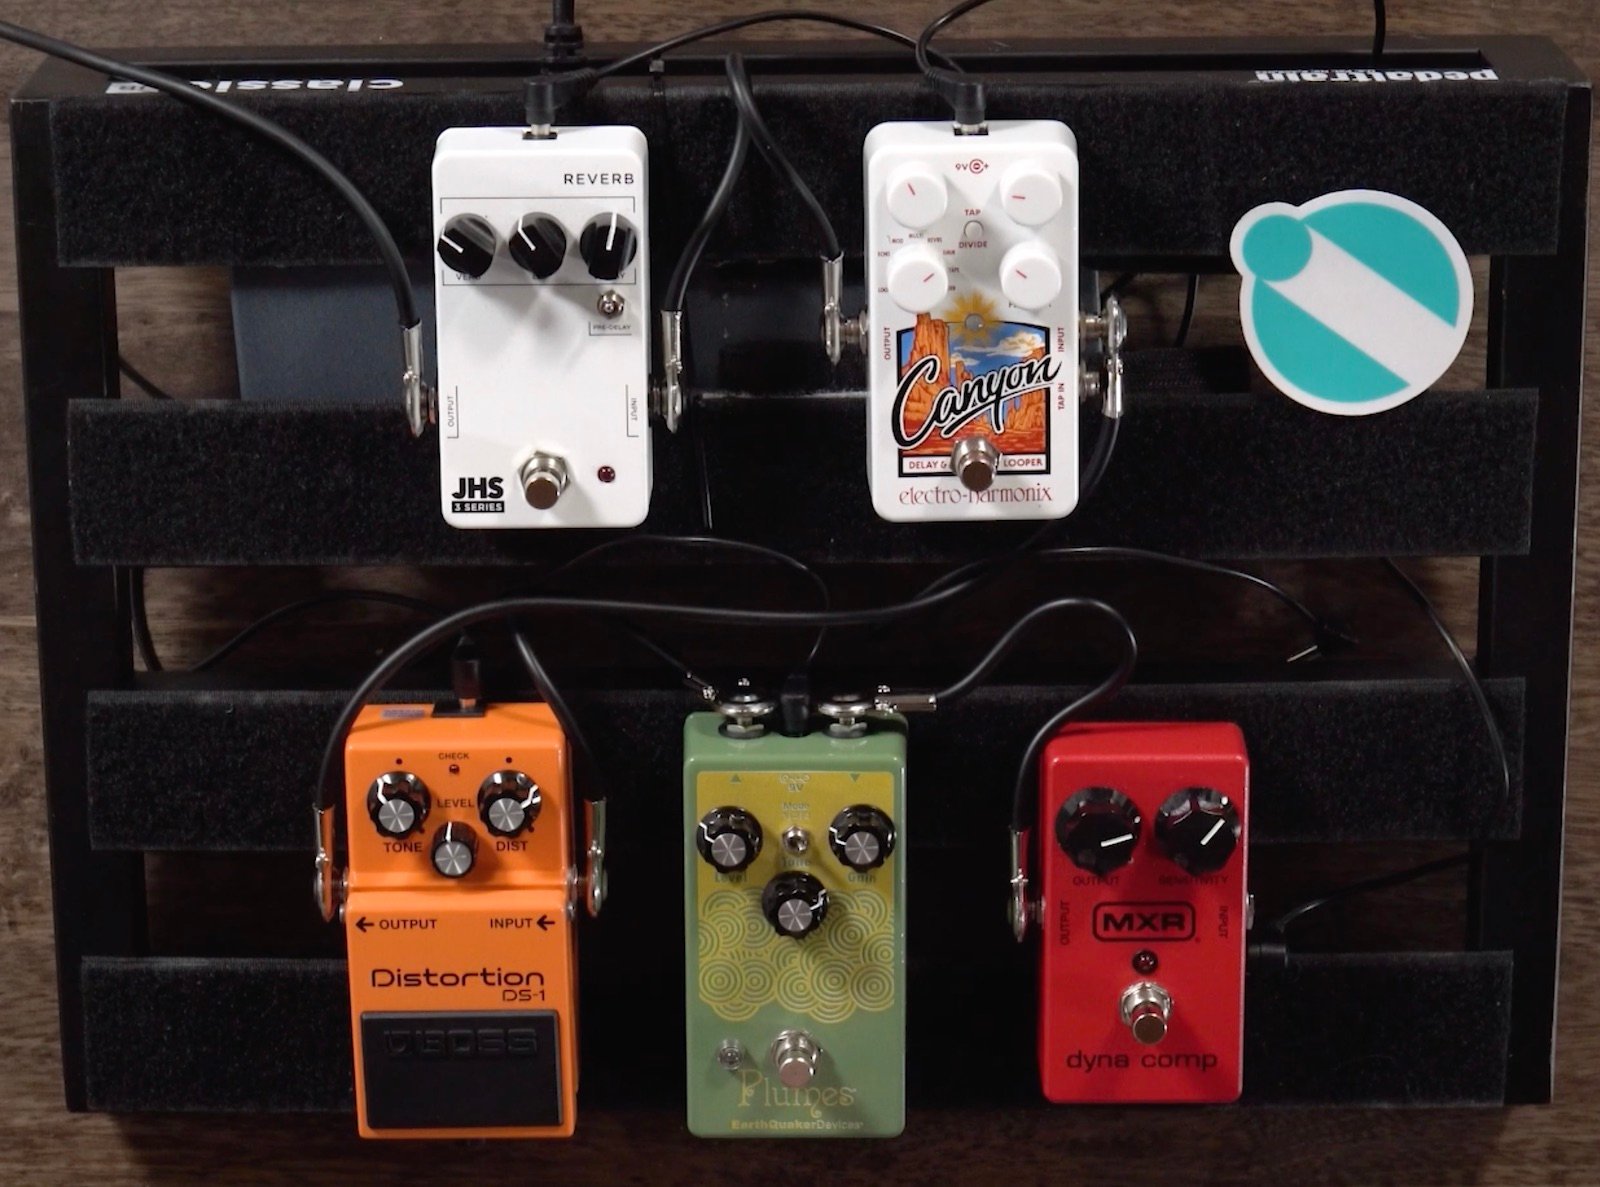
To cover a decent amount of musical ground within our budgetary constraints, I envision this board to contain five different pedals: a compressor, two distortion or overdrive pedals, a delay, and a reverb. This is a straightforward assortment of pedals that can complement guitar, bass, synthesizers, or any other kind of instrument, and could be easily expanded in the future, if so desired. So let's take a look at each of these pedals in a bit more detail.
At the top of our signal path, I've chosen the tried and true MXR Dyna Comp compressor. It's about as straightforward as a compressor can be, with two simple controls for Sensitivity, a macro control which affects the intensity of compression, and an Output level control. The design dates back to the early 1970s, attributing its character to the use of operational transconductance amplifiers (OTAs), specifically the CA3080. It might not be as flexible as a studio-style compressor, but it certainly has plenty of charm to bring clean guitars to life or slam transients from a drum machine. Compression tends to be one of the first things you want to do to process an instrument, as it's shaping the dynamic range for more effective processing down the line. So while we have it listed first for now, we'll talk a bit about when you might want to explore other placements later on in this article.
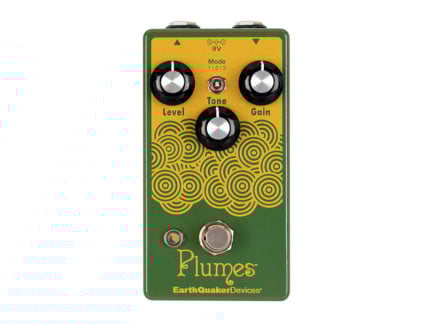 EarthQuaker Devices Plumes Overdrive Pedal$119.00In Stock Available immediately!
Next is our block of two distortion and overdrive pedals, and there are probably more of this type of pedal on the market than any other. This is definitely an area where any opportunity to try things with your rig will benefit you, as your ears and personal taste will be the most important reference points to determine if something will work for you. But thankfully, one of the biggest benefits of the internet is the easy availability of audio and video demos, which is the next best thing to actually trying pedals if you're unable to do so. I'll explain both of my choices in descriptive detail, to illustrate why I chose these particular pedals for their tonal characteristics, and thus why they earned a place on the board being built in this article.
For my first drive choice, I've brought in one of the more popular overdrive pedals to come out in the past few years, and that's Plumes from Earthquaker Devices. According to EQD founder Jamie Stillman, Plumes lived on his own pedalboard for years before it was released as a product. Being based on a Tubescreamer-like design, one of Stillman's goals was to breathe new life into one of the most widespread circuits in the world of guitar, despite actually not being a huge fan of the original. Although I do personally feel similarly to Mr. Stillman, I can't deny that in a lot of ways, Plumes rectifies my gripes with the original circuit. For lack of a better term, I found traditional Tubescreamers to be too "honky" in the mid-range, and rarely reached for one as part of a pedalboard build in the past. But Plumes feels much more open, with the honk transforming into more of a bark that feels much more workable to my ears, and being fairly affordable certainly isn't a negative.
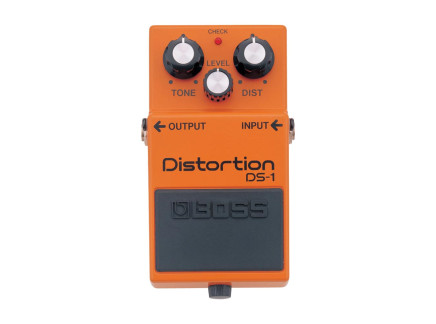
To round out the drive section, I've leaned into an affordable and reliable pedal that's been around for decades: the Boss DS-1. Now, this is somewhat of a polarizing pedal, as when used carelessly it can produce some harsh, unpleasant distortion tones with way too much high-end and saturation. I think this sound has become ingrained in the ears of a lot of people, but with careful consideration and by pairing it with the right guitars, pedals, and amps, it's possible to find a number of solid, workable tones. In fact, even at some of the higher gain settings I appreciate how well it maintains the character of the instrument running through it, even single-coil guitars. Plus, at just around $60, it's a fairly low-risk investment and it's quite hard to beat that value.
Next, I've chosen to drop in the Canyon from Electro-Harmonix. Of the five pedals listed here, this is the most expensive of the lot, but for all the versatility available in its delay and looper modes, it's worth stretching a little bit to include this one. I would also imagine that it's realistic to expect that someone would try to save a little bit on their other pedals (like we did with the DS-1 and Dyna Comp), so that they could splurge a bit on another. But a worthy investment this would be, as the various delay modes range from traditional delay types emulating vintage units to pristine digital processors and others which incorporate reverb, pitch-shifting, and other effects. There's also a very playable looper mode supporting an incredible 62 seconds of looping time, which is plenty of time for sketching out ideas or building up compelling live-looping performances.
Finally, to complete our spatialization package, I've chosen the 3 Series Reverb from JHS. It's the most affordable reverb pedal that we currently have in our catalog, though that should come with no negative connotations as far as its sound is concerned. It's a solid, versatile reverb that balances well with any instrument, and it couldn't be more straightforward to use. It's also worth mentioning the 3 Series Hall Reverb, which is available for exactly the same price and provides a lush, modulation-capable alternative to the standard Reverb. They're both great, though I imagine the classic flavor will have more universal appeal, and so I went with it for this particular setup.
Stellar Delay and Reverb Pedals
 JHS Pedals 3 Series Hall Reverb Pedal$99.00Out of Stock Sign up for stock updates!
Out of Stock
We aren't currently accepting pre-orders for this item. Sign up for stock notifications and we'll email you as soon as we receive our next shipmentOut of stock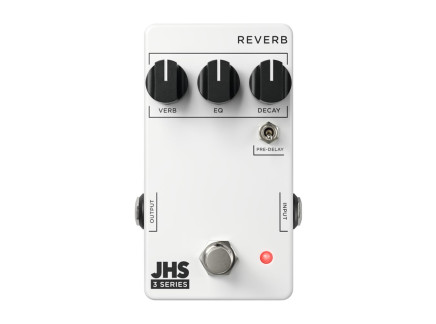 JHS Pedals 3 Series Reverb Pedal$99.00Out of Stock Sign up for stock updates!
Out of Stock
We aren't currently accepting pre-orders for this item. Sign up for stock notifications and we'll email you as soon as we receive our next shipmentOut of stock Electro-Harmonix Canyon Delay + Looper Pedal$176.00In Stock Available immediately!
Some Brief Thoughts on Pedal Order
One of my favorite parts of building a pedalboard comes after I've chosen the pedals to be included, and that's determining the order in which everything will be connected. In a previous article, I went into a bit more detail on exploring different pedal orders, where I talk about some of the basic ideas on a general level. But here, we're going to put some of those concepts into practice, and discuss why you might want to patch things up one way or another.
Let's start with talking about stacked drive pedals, or the idea of engaging multiple overdrives and distortions at once. Theoretically, stacks could contain three, four, or even more pedals, and your preferred order may vary depending on your personal taste, musical needs, and the actual pedals that you have. For our modest board today, we'll just be playing around with the order of the Plumes and DS-1, as those are the only two drive pedals we have here, but it should be enough to demonstrate the idea if this is a new concept to you.
In the adjacent clip, we've edited the stacked drive jams together for a more clear comparison of the two tones, It's important to keep in mind that whichever pedal is the last member of the stack, it will have the largest contribution to the resulting tone and feel, while everything preceding it applies its own signal shaping and level adjustments to influence the next pedal in line. With Plumes first, the DS-1 gets pushed into a more liquid territory than what would be achieved by turning up the gain knob, and any mid-frequency enhancement done by the Plumes is then re-shaped by the DS-1 tone circuit, producing a more modern rock sound. On the other hand, DS-1 into Plumes similarly offers a ton of gain on tap, but the Tubescreamer-like sound of the Plumes maintains that mids-heavy character, giving it a much more classic rock kind of vibe, even from a low-tuned eight-string guitar.
A less common debate with a more objective answer is the question of whether delay or reverb should come first in the chain. Typically, if we think about how sound is dispersed in real, acoustic spaces, we'll often hear a period of delay with some amount of distinct echoes (initial reflections), before smearing and diffusing into what we would consider reverb. Thus, the "physics correct" answer would be to place delay before reverb. But in a creative space like music-making, there are plenty of reasons to explore the latter, and you can hear the subtle, yet apparent difference for yourself in the adjacent audio clip.
Finally, on the topic of experimental pedal placements, try throwing your compressor at the very end of your chain, including your delays and reverbs. Interesting sounds can be achieved by pumping long trails and tails of effects into a compressor, especially with more percussive or transient-rich source material, so give it a shot and see if it's something that works for your music.
Considerations for Expansion
Of course, there might come a day where you'd like to expand upon your basic pedal setup. Ideally, your decision should be influenced by how you use your pedals, and supplement areas that you feel are lacking in your current musical needs.
First off, if you don't have a tuner pedal yet, I'd highly suggest grabbing one. Your music will probably benefit from your instrument being in tune with itself or other musicians, and this type of pedal will usually also work as a mute switch. It's hard to go wrong with a tuner pedal: the classic TU-3 from Boss, for instance, is a dependable choice that I've often turned to over the years. It primarily operates in a chromatic mode, which is useful for those that aren't using a guitar or bass, or who frequently play in non-standard tunings.
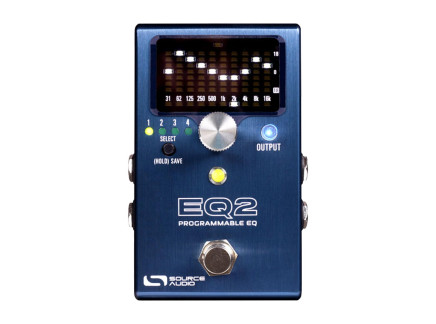
If you're happy with the core of your tones, but are looking to carve out or boost a few pesky frequencies, then it's probably time to look at investing in an equalizer pedal. There's a number of reasons to do this: maybe you're looking to coax a bit more aggression out of your drive pedals, or you're frequently dropping your pedalboard in front of a different backline rig every night and need to compensate for variations in amps, speaker cabinets, or characteristics of the venue. The most straightforward EQ would be something with graphic band controls like the MXR 6-Band EQ, but you'll also find parametric designs like in preamp and EQ combos like the JHS Colour Box V2, or more creative approaches like Fairfield Circuitry's Long Life. EQ is a valuable tool for anyone's toolbox, and there's plenty of options out there as simple or complex as needed for your particular application.
Extraordinary EQ Pedals
 Source Audio EQ2 Programmable Equalizer Pedal$289.00In Stock Available immediately!
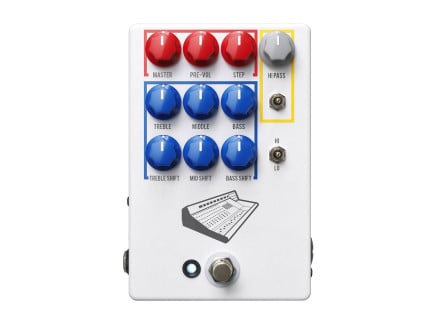 JHS Pedals Colour Box V2 Recording Console Pedal$449.00In Stock Available immediately!
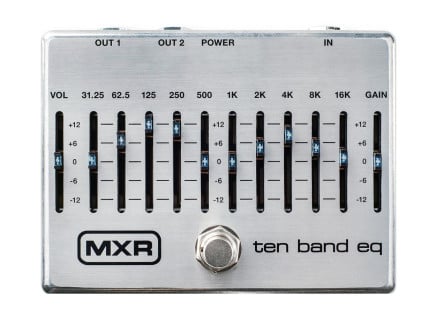 MXR M108S 10-Band Graphic Equalizer Pedal$149.99In Stock Available immediately!
For a more exploratory route, there's always the expansive world of modulation pedals. We've talked about some neat choruses and phasers recently, but that's merely a small bit of what's out there: tremolo, vibrato, ring modulators, rotary, and much more. In the video above, I'm using the Neo Mistress from EHX, which is a flanger, but it's worth spending some time familiarizing yourself with the different types of modulation pedals to see what kind of textures they could add to your music.
Magnificent Modulation Pedals
 JHS Pedals 3 Series Chorus Pedal$99.00Out of Stock Sign up for stock updates!
Out of Stock
We aren't currently accepting pre-orders for this item. Sign up for stock notifications and we'll email you as soon as we receive our next shipmentOut of stock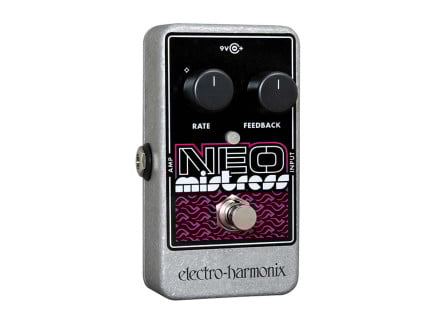 Electro-Harmonix Neo Mistress Flanger Pedal$94.30In Stock Available immediately!
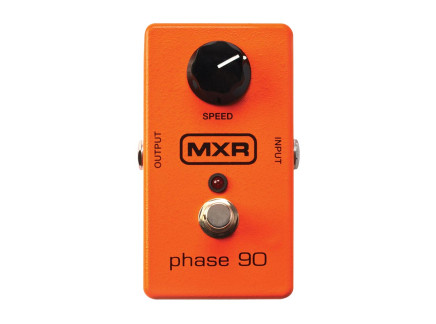 MXR M101 Phase 90 Phaser Pedal$99.99Preorder Reserve your order today!
Out of Stock
We're awaiting our next batch of this item. Pre-order to reserve your place in line and we'll fulfill your order as soon as we receive our shipment
If you found the part of the process where exploring pedal order was the most fun, it could be worth looking into tools which facilitate pedal arrangement as part of the creative process. Some of these tools lean more into the practical side of things, such as the various Loop Switchers or Radial Engineering's BigShot EFX, but that's not the full extent of this category. Others like the Boredbrain Patchulator and Xotic X-Blender really encourage exploration, through directly re-patching the connections or blending in separate effect chains, respectively. I'm also a fan of mixers like the Old Blood Signal Blender and the BASTL Dude, which allow for several parallel signal paths to converge in one place.
Radical Routing Pedals
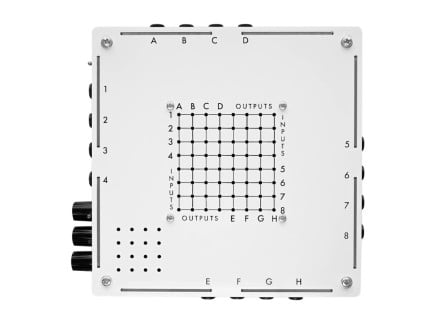 Future Sound Systems MTX8 Pin Matrix - Guitar Version$469.00Preorder Reserve your order today!
Out of Stock
We're awaiting our next batch of this item. Pre-order to reserve your place in line and we'll fulfill your order as soon as we receive our shipment Old Blood Noise Endeavors Signal Blender FX Mixer / Signal Router PedalNo Longer Available Contact us for a recommendation.Out of stock
 Boredbrain Music Patchulator V2 Pedal Patch Bay$149.00Preorder Reserve your order today!
Out of Stock
We're awaiting our next batch of this item. Pre-order to reserve your place in line and we'll fulfill your order as soon as we receive our shipment
Lastly, if you envision yourself descending deep into the pedal rabbit hole, it might be wise to grab a buffer or two. Buffers are simply unity gain stages placed at the front, rear, or both ends of a pedalboard, and serve the purpose of combating the build-up of capacitance over the course of long cable runs. This manifests itself as a gradual loss of high-frequencies, but buffers are the exact tool used to prevent this from happening. Many pedals from the likes of Boss contain internal buffers, while others like Strymon offer selectable modes for either true or buffered bypass. But if you're exclusively rocking a decent number of true bypass pedals, standalone buffers exist and might help to bring life back to your tone.
Brilliant Buffers
 Empress Effects Buffer+ Analog I/O Interface Pedal with Boost$164.00In Stock Available immediately!
Time to Rock!
Assembling a pedal board is a journey of exploration in itself, and while it may seem daunting the first time around, breaking things down and staying true to your goals is going to ensure the success of your build. Plus, the great thing about pedalboards is that they can be put together over time, and if something doesn't work out it's easy to swap one pedal out for another. And at the end of the day, remember to trust your ears—if you like how it sounds, then you must be doing something right!