Every music producer knows what compression is, or at least pretends to. If you need a quick refresher, compressors reduce the dynamic range of a track by reducing the peaks of a signal, and boosting the valleys. This is one of the key ingredients needed to glue together your mixes, give drums oomf, and even smooth out the idiosyncratic tendencies of erratic vocalists. A related technique that is perhaps lesser-well-known is multiband compression. So what is it, and how might you make use of it in practice?
Multiband Compression Explained
The kind of usual compressors that most people will be familiar with work by applying their effect to the entire frequency range of a track, indiscriminately. In contrast, multiband compressors are much more discerning: allowing you to set and apply compression differently in bands. In other words, you can target the lows, mids, and highs with distinct types and strengths of compression, for a more sculpted sound.
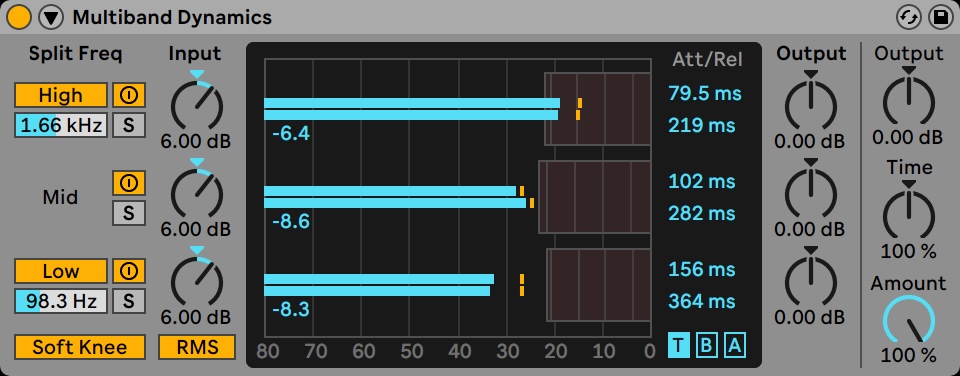
[Above: a detailed view of Ableton's Multiband Dynamics software multiband compressor]
Each individual section of the multiband compressor can have entirely separate values for the various parameters such as threshold, ratio, attack, release, etc. This approach to compression is far more flexible, and provides you much more granular control over the output. Given the additional complexity involved, they are naturally a bit trickier to understand and work with—though not impenetrably so. One thing to watch out for is that you need to ensure that the frequency bands are set up in such a way that important elements of your track don’t end up split between two, as this would produce very odd and unpleasant results - though good multiband compressors do have built in roll-off to try and avoid that.
Despite the additional considerations involved when utilizing multiband compression, they are an incredibly useful tool for production. Let’s take a look at some specific examples where this approach will shine.
Example One: Stereo Drum Loops
When my production skills were less developed than they are now, I often relied on having individual tracks for each sound source. This would let me process the different elements of a composition much more easily, helping to make up for my lack of skills. In many ways that kind of approach makes sense, and is still my preferred way to work—particularly when there is a mix of melodic and rhythmical parts. However, as a result of this, I would often avoid buying gear that only had stereo outputs—even when it came purely to drum machines. For whatever reason, no matter how much I fiddled about with the EQ, I could just never get combined drum tracks to sound as good as I could with separate stems.
That all changed when I discovered multiband compression. For the first time, I could confidently take any old drum loop and shape it to sound the way I wanted by giving prominence and thump to particular elements in a very specific, targeted way.
This demonstrates one particular use for the technique, which is to focus on and process different portions of a combined bit of audio to an extent that simply wouldn’t be possible by utilizing equalization alone. For example: Taming the harshness of hi-hats on a drum bus, whilst simultaneously boosting the punch of the kick. Similarly, multiband compression can be used on individual bits of percussion (as opposed to groups of instrumentation), to bring out the body of a tom, or crack of a snare, and also simultaneously tone down any unpleasant resonance or bleed. Finally, I can tackle summed stereo outs without fear. Maybe it’s time to buy another Digitakt…
Example Two: Giving Synthesizers Sparkle
One of my all-time favourite synths is the OB-6. The legendary patch 007 in particular just sounds fantastic, with massive warbley tones. It provides such an epic atmosphere that I am tempted to throw it on every single bit of music I make. The problem with doing that is that the Oberheim covers such a wide range of frequencies, it completely dominates every other instrument, and it can be difficult to get it to sit right in the mix, even with aggressive EQing.
This is another area where multiband compression can prove to be incredibly useful. By selectively applying compression to the OB-6 recording with automation to evolve as the track progresses, I can effectively push parts of its sound into the background when it comes to more crowded elements of the composition, and then bring the focus back to the synth at other key points. For example: dialing back the lower frequencies during the chorus, and then amping them up for some punch during the verse. This kind of technique doesn’t just help with getting the balance of elements right, but can also add an extra layer of sonic intrigue to synthesizer patches, on top of any modulation that already exists.
Example Three: Vocals
I have always found vocal recordings to be one of the most difficult to process and mix properly. Part of the reason for that is simply down to the variations and nuance that each person has. A singer may bear an incredibly powerful voice in a particular register, which then changes significantly when they switch to a different octave. Applying multiband compression can help bring more consistency in these cases, by reducing the dynamics of particular parts of the spectrum. In practice, this can help thicken up the weaker parts of their range, without allowing things to become overpowering when they are in more comfortable territory.
Dealing with vocals can be particularly tricky, especially if you are purely using a dedicated multiband compressor (see below for some suggestions). If you are just beginning with this technique and aren’t confident about how to tackle them, iZotope has an excellent guided vocal mixing application called Nectar that I relied on for years—loading up presets and tweaking them until I found results that I liked. It’s well worth the money.
Options
If you’ve read through this article and are now chomping at the bit to test out the magic of multiband compression for yourself, the quickest and most easily accessible route will be to use software. Any good DAW worth their salt will have their own built-in multiband compressor, though you may need to look up their particular names. For some specific examples to get you started: Ableton has Multiband Dynamics, Logic Pro has MultiPressor, and Cubase has…err, MultibandCompressor. All of these are fairly basic, albeit powerful - but there are obviously more fully featured alternatives out there, such as the C6 Multiband Compressor from Waves.
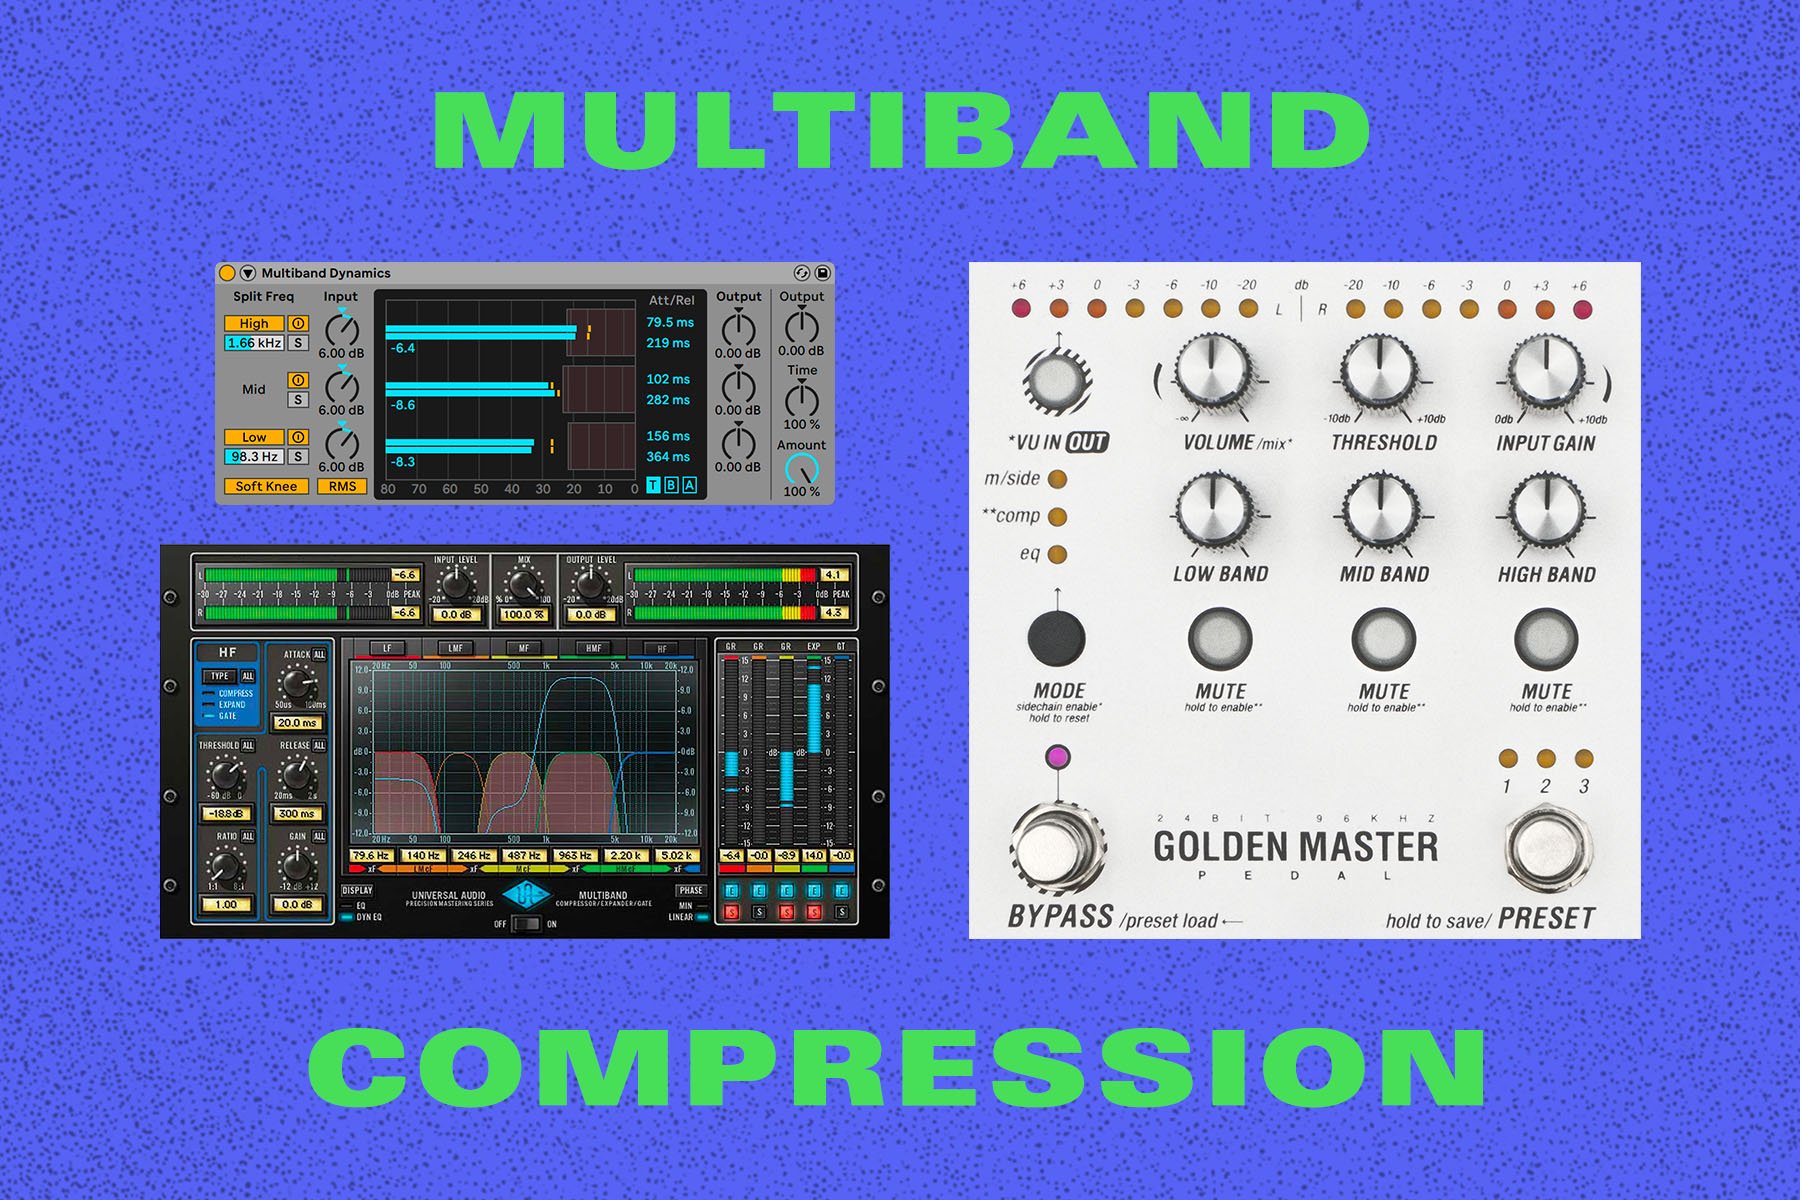
In the world of hardware, multiband compressors are relatively uncommon—and the options available rather pricey—at least in comparison to their more straightforward cousins. This is partly a result of the technique historically being used primarily at the mastering stage of production, as opposed to during recording and mixing. However, as it grows in popularity, we are beginning to see more affordable devices out there—particularly in the world of modular (though in some respects it seems rather ironic to suggest that Eurorack presents an economical alternative!). Golden Master is one such notable offering from Endorphin.es, which packs a multiband compressor into a tiny 6hp package, a 1U module, or a compact effect pedal.
If you look around there are some other interesting products out on the market that make use of multiband processing. For example: When I played bass in a SwaggerPop band, I swore by the results I got from a Darkglass MicroTubes X7, which combines multiband distortion and targeted low-end compression to great effect.
Conclusion
Sometimes, all you need is a blunt tool to get the job done, and a regular compressor will do just fine. However, other tasks require a scalpel, which multiband compression provides. DIY producers often under-use or under-appreciate its power, and if you haven’t tried it out yet—this is your sign to do so. As with any production technique, the best results are often obtained by judicious application, though don’t be afraid to dial the knobs up to 11 when experimenting to get a feel for what is possible!
Multi-Band Compression from Endorphines
 Endorphin.es Golden Master Multi-Band Compressor Pedal
- STAFF PICK
$349.00In Stock Available immediately! Endorphin.es Golden Master Multiband Processor 6hpAs low as $199.00Multiple Options Make a selection for stock info
 Endorphin.es Golden Master 1U Multiband Processor 22hpAs low as $199.00Multiple Options Make a selection for stock info